Just because you’re living in a van doesn’t mean it has to feel like you’re living in a van. With thoughtful design and the right equipment, a cargo van can become a homey space on wheels.
Converting to van life myself, I’ve started to record my thoughts and processes for others looking to make the leap. In the past, I’ve shared How (and 5 Reasons Why) to Live in a Van as well as Essential Gear for Dirtbagging on the Road. In this piece, I’ll get a little more detailed into the process and specific equipment used.
Of course, you may have an entirely different approach or view toward your build. My hope is that the details below simply provide another example for you to consider. Nothing that follows is objectively the best method, as there are many alternative approaches.
Part 1: pre-planning and research
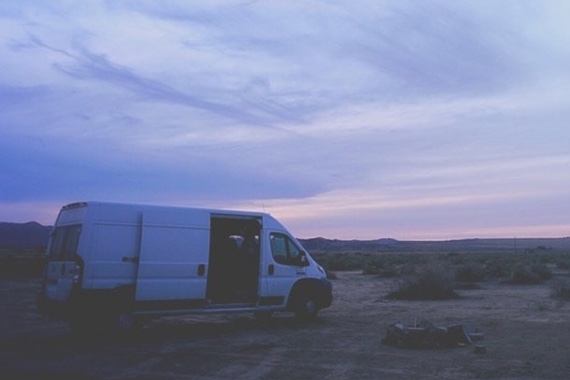
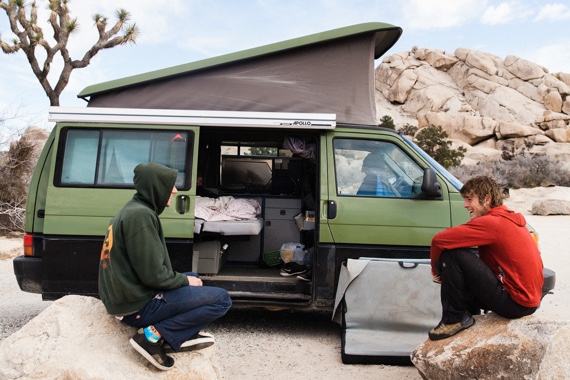
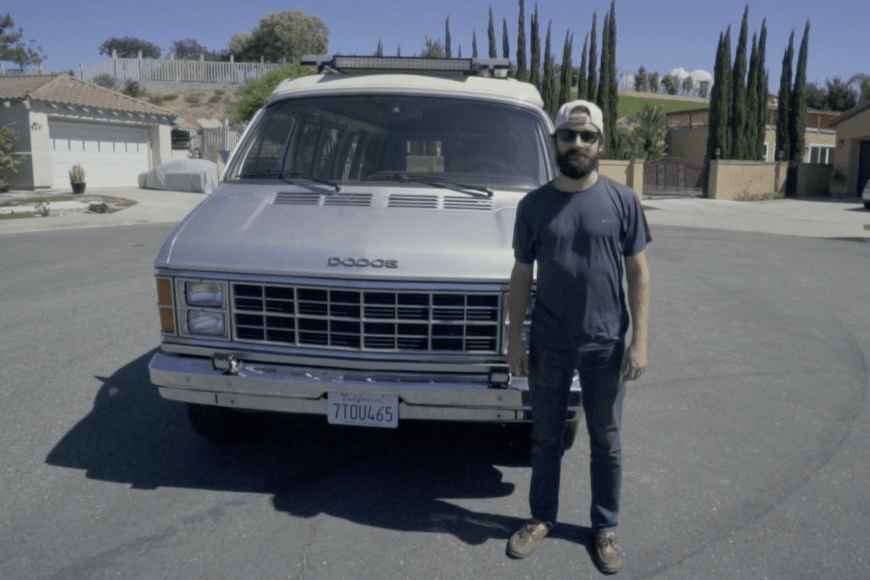
I moved into a Dodge ProMaster cargo van while it was simply a plain, empty shell. Using a sleeping pad, a camping stove, and storage bins, I became acquainted with how I moved throughout and used the space over the course of a few months. This preparation time also offered an opportunity for me to look at other vans, both in person and online (Google, Pinterest, and Instagram offer a stream of ideas).
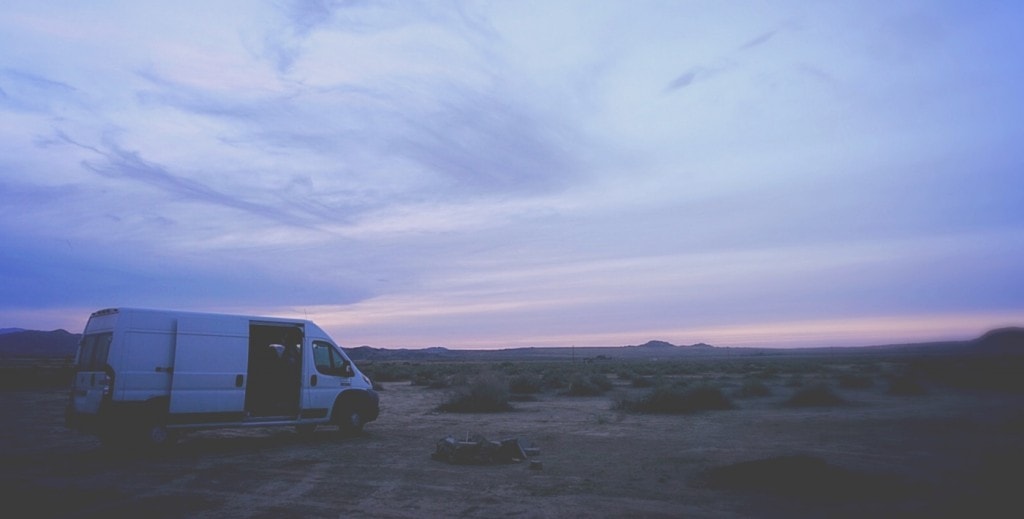
2014 Dodge ProMaster. Photo taken in Joshua Tree, California.
Several weeks prior to building, I began mapping out the van. I had initially tried doing this on paper, but found little success and a lot of frustration. After a week of troubles, I tried Google SketchUp, a free 3D modeling software that’s relatively simple to use. Watching 30 minutes of tutorial videos will equip you with the basic know-how to create a mock to-scale digital buildout.
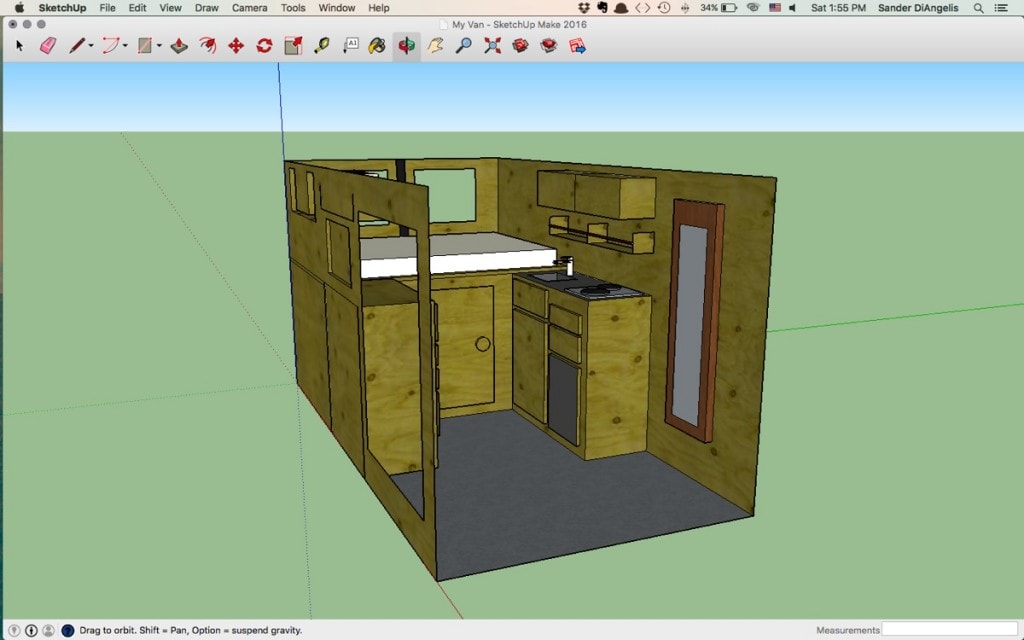
An early mock-up of my conversion. The open hole of the left wall is the door; the wooden plank on the right is a fold-down table with a mirror; a partition and swinging door separate the living space from the storage under the bed.
Once I had mock-ups like the one above, I shared them with other van-dwellers for feedback. I sought potential pitfalls and errors with the design, prior to any construction.
Suggestion: Don’t build your van on the fly! Spend time planning your setup and seeking feedback.
Part 2: construction
Below is a rough overview of the construction and methods used. Each subheading could be an article in itself, which I may create in the future. In the meantime, I suggest taking a look at The Vanual and Build a Green RV for specifics to the construction process.
Insulation
 Once your vehicle is clean, your first step will be insulation. Personally, I was hesitant about using spray foams in such a small and enclosed space because of uncertainty with the chemicals involved; that said, I selected what seems to be a more natural insulation alternative, opting for UltraTouch’s Radiant Barrier, which not only insulates but also does a great job dampening road noise. I placed this against the siding of my van, adhered with 3M High-Strength 90.
Another insulating layer of Reflectix was applied the backside of my wall/ceiling panels. This method creates an air gap between the two insulating materials.
Bed
Framing the bed was an early step in the order of operations. Fortunately, I have the benefit of being able to sleep perpendicular within the vehicle, which frees up considerable space. My bed is exactly 6′ (1.83m) long by 4′ (1.22m) wide.
A frame of 2x4s supports a 3/4in OSB platform. I purchased a custom-sized 2in foam mattress through FoamSource and was very satisfied with how quickly the mattress was shipped (only a few days) and its level of comfort.
Paneling, and cabinets
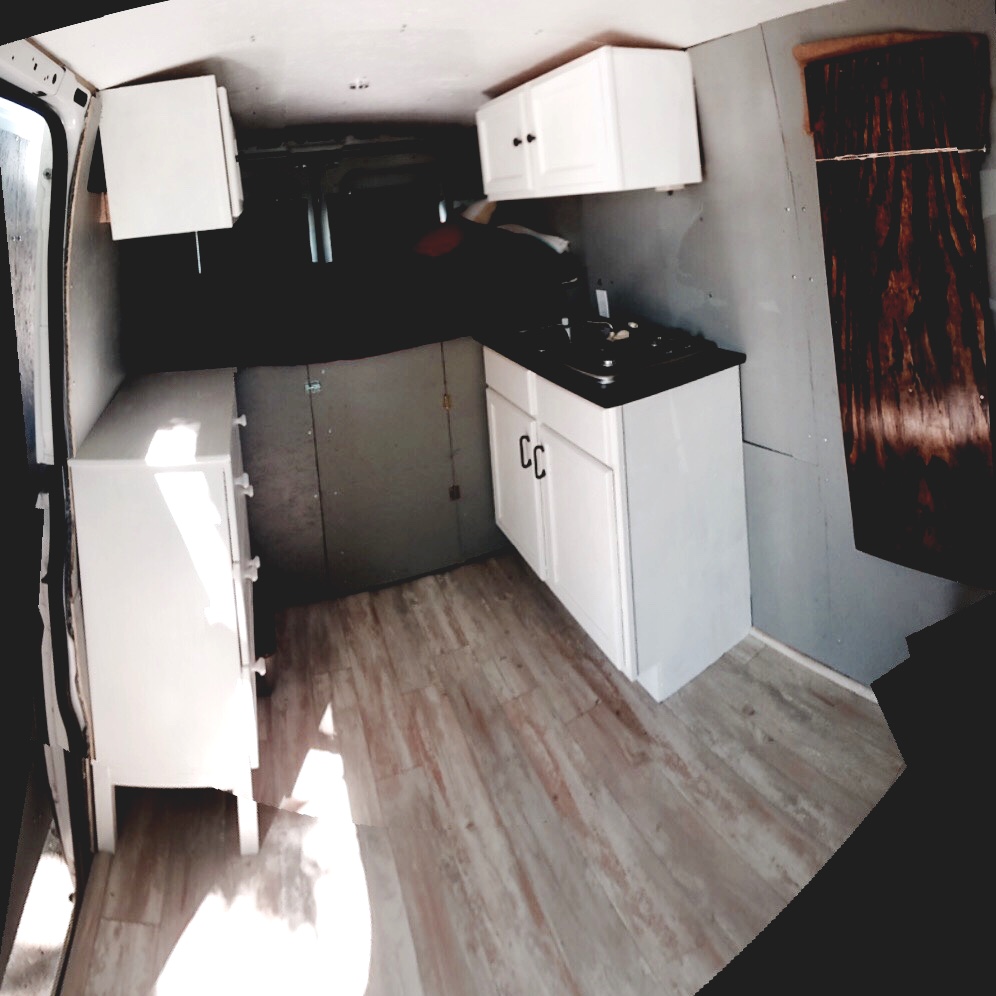
My fold-down table is on the far right, and 6″ tall cushions provide seating.
The paneling is 1/4in painted OSB. 1×4 strips provide framing in select spots and scrap wood was used to build mounting locations for the cabinets. For ease and the sake of time, I used pre-constructed kitchen cabinets purchased through a home improvement store and ordered a dresser from IKEA for clothes storage.
Vent fan
Installing the vent fan is a nerve-wracking process; it’s a cut you really don’t want to mess up. The cut can be made using a circular saw and metal-cutting blade. A special putty tape and silicon sealant should also be applied to prevent any potential water leakage.
My fan of choice was the Fan-Tastic Model 1250. It spins in both directions (pushing air out and sucking air in) in addition to offering three different speeds.

Fan-Tastic Model 1250
![]()
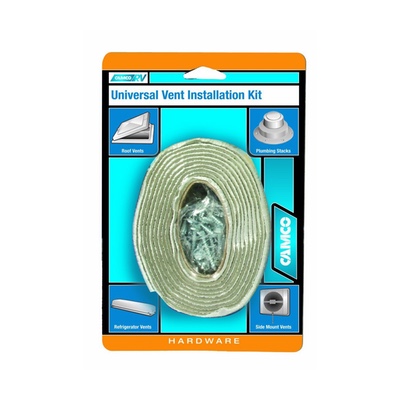
Campco Vent Installation Kit
![]()
Solar
When it comes to your solar setup, you can decide between 1) the simplified, packaged kits through Goal Zero; or 2) do it yourself and purchase each component individually. Goal Zero has a lot of attention in this industry, but I opted to go with individual components. It’s a much better value this way, but it is more complex.
Specific equipment used in my solar setup:
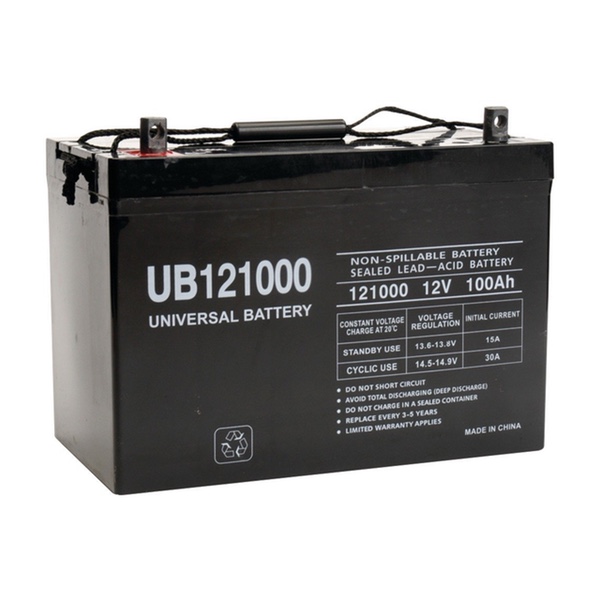
45978 Sealed Lead Acid Battery
![]()
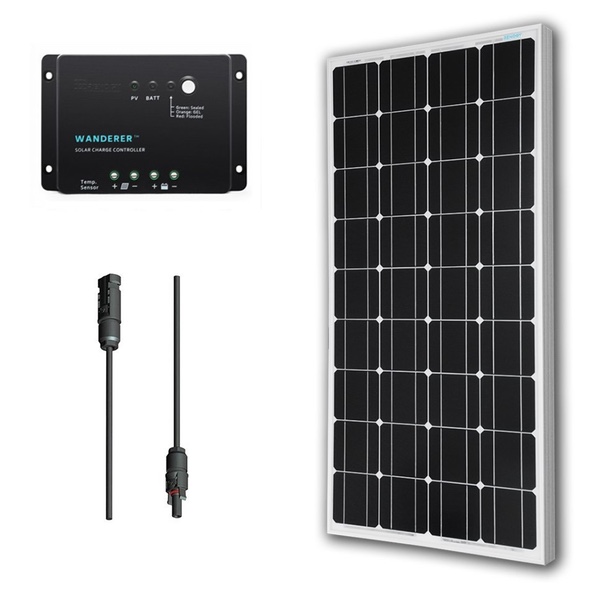
Renogy 100 Watt Solar Panel & Controller
![]()
![]()

Power Bright APS600-12 Pure Sine Inverter
![]()
Currently, I have just one 100-watt solar panel charging my battery. Being mostly in California with plenty of sunshine, one panel seems sufficient for my purposes (this may not be the case along my travels). And I use relatively little power—I charge my laptop and run a refrigerator, vent fan, and a few LEDs.
To limit the number of holes/potential leaking spots in my roof, my panel is mounted using 3M VHB tape. 3M claims that the tape works as a substitute to screws and while it can feel uneasy to tape a solar pannel to your roof, it’s widely used for this purpose. Of course, be your own judge.
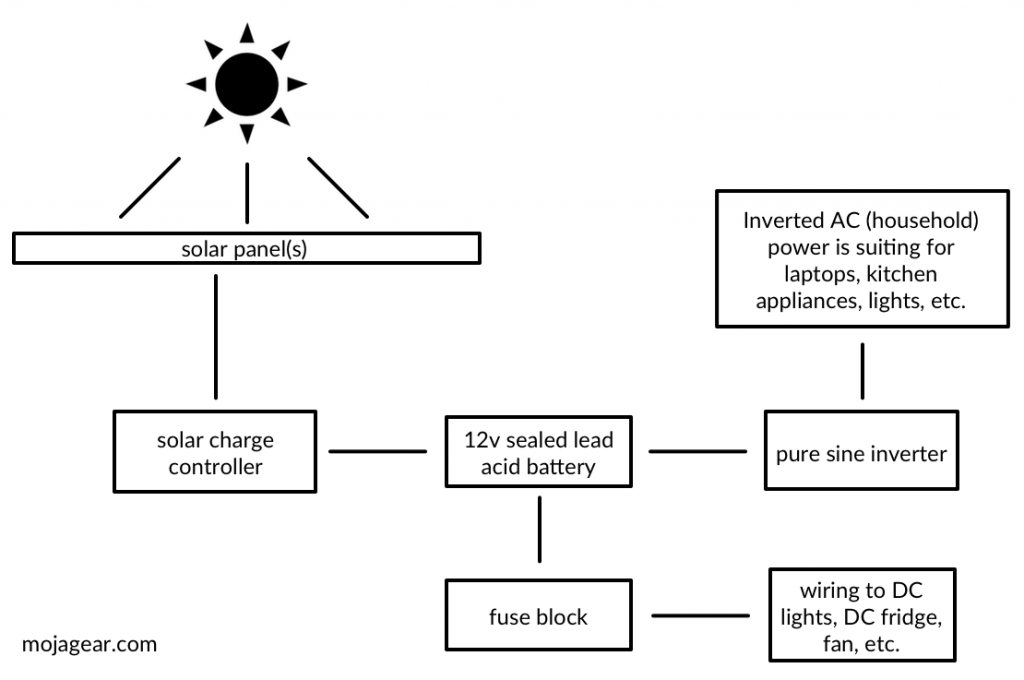
The diagram above outlines the structure of my power system. The fuse block looks like this and was available at a local NAPA Auto Parts store, where you can also find simple on/off switches for your DC lights.
Flooring
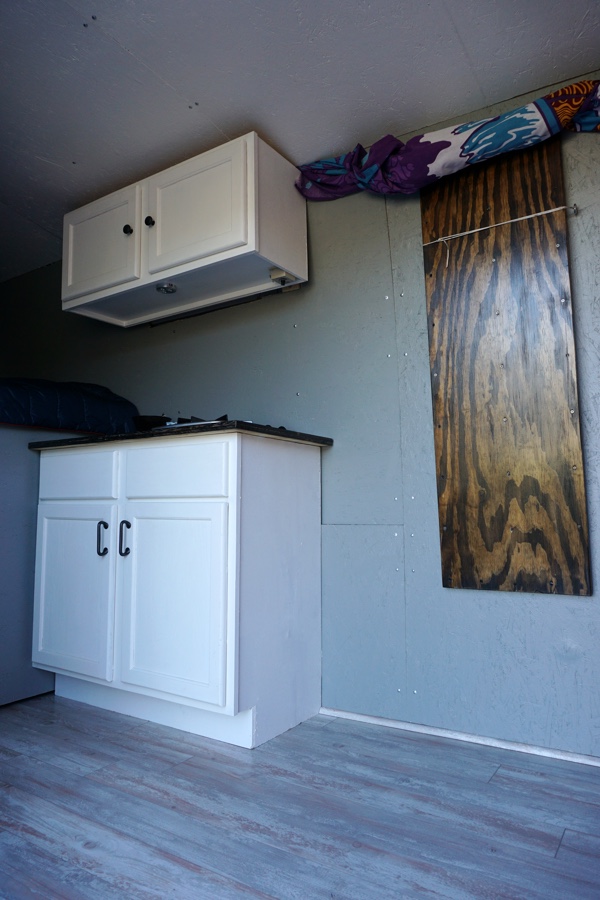
Flooring can be done in a handful of ways: vinyl, laminate, rubber gym-style flooring, and carpet (beware that this is harder to keep clean!) are popular options. Wanting the space to feel spacious, I opted for the light-colored Pergo Coastal Pine laminate planks (shown in photo). Below the flooring lies a 23/32in subfloor and Reflectix provides insulation against the van floor.
Sink and plumbing
A five-gallon water jug serves as my fresh-water source, pumped through the 2-Way Leisure Components Hand Pump. Your options are somewhat limited if using a hand pump, with the primary alternative being Valterra’s Rocket Pump. My sink of choice was the Moen Series 22 drop-in sink, which looks nice and works well. The sink drains to a second 5-gallon water jug, which serves as my grey water storage.
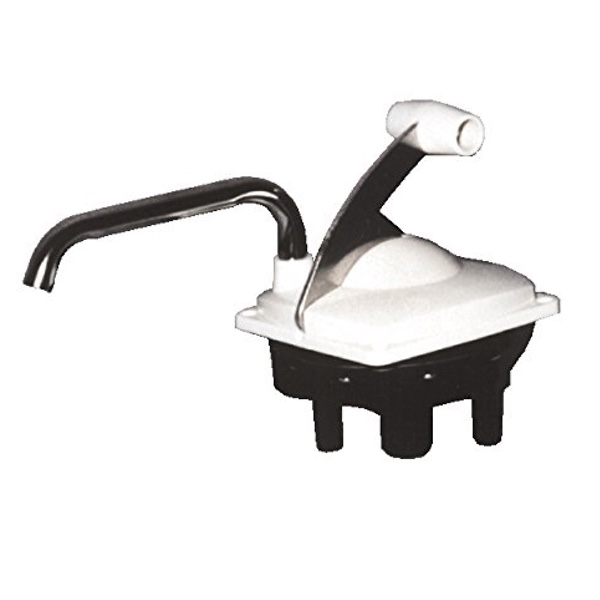
Leisure Components Hand Pump
![]()

Valterra Rocket Pump
![]()
Propane and stove
Propane can be extremely dangerous—I encourage you to do your own research and consider gaining help from an expert for this process. In doing your research, you’ll need to decide a few things: first, do you even want a propane tank? Or, would you prefer to use camp stoves that run off replaceable Coleman cylinders? If you’d like a drop-in style stove, a full-sized propane tank will be necessary. If getting a tank, is the propane going inside the vehicle or outside; and depending on your answer … where?
Those that opt for putting the propane inside typically ensure that there is sufficient ventilation for the tank, while also placing it within a sealed compartment. Here is a detailed example. Outside the vehicle, I have seen propane mounted both in the rear and underneath. I encourage you to weigh risks and potential dangers associated with each location, asking a propane expert for the best advice.
If you opt for a portable camp-style stove, your options start with a simple classic Coleman 2-Burner. On the upper end of the spectrum, you may seek a stove by Camp Chef.
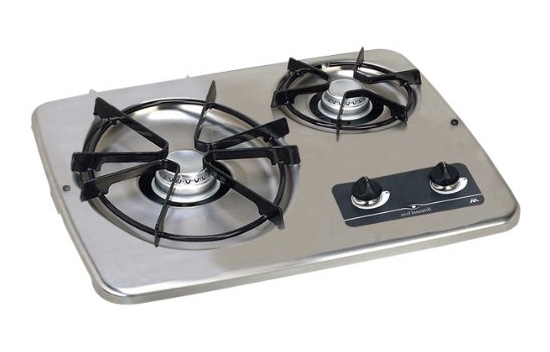 There aren’t a ton of options for drop-in stoves; a couple popular brands include Suburban and Atwood. With little frame for reference, I decided to go with the Atwood 56494 2-Burner stove. Reviews are a bit mixed, but with over 50% 5-star reviews I felt it was the best option available.
As some reviews have mentioned, it did take some tweaking to get it working right; but, now that it’s up and running, I’m very satisfied with its performance.
Refrigeration
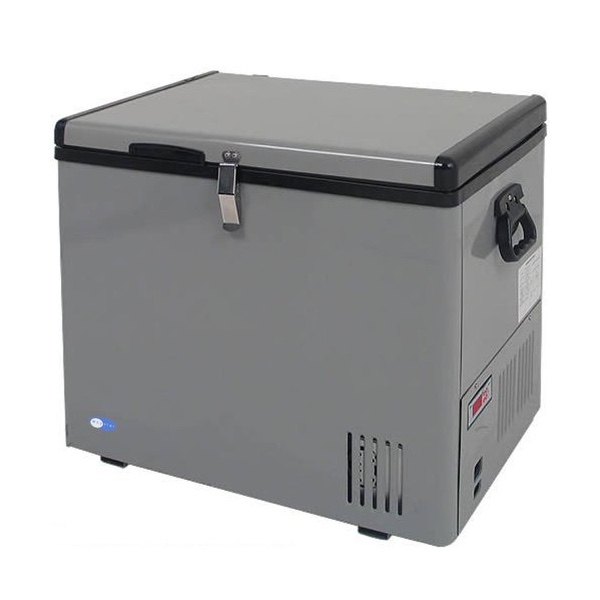
There are 3-way refrigerators (those that run on AC, DC, and propane), 2-way (AC and DC), and also just AC or DC options. Popular brands include Dometic and Norcold, but it seemed that the best reviews were for this Whynter portable refrigerator. I store this behind my partition, keeping the living area open and spacious.
![]()
Heating
I do not yet have a method for heat in the van, but plan to use a Buddy Heater starting next winter. This seems to be the simplest method for a quality heat source and I’ve heard that it can entirely heat most vehicles in a matter of minutes. Many van dwellers opt for this compact and affordable option.
Final thoughts
The main goal of my buildout was to make the space feel open. Also, being my permanent residence for some time, I took the extra steps to add the amenities: running water, gas, electric, refrigeration, etc. I’m still new to this, with a handful of modifications still to be done (will add copper wire lighting, wall art, and legs to the fold-down table). But with my limited time in the vehicle, I can confidently say that there’s nothing I would have done differently. We’ll see how everything holds up, and I’ll add updates here as my van life journey progresses.
Thanks for taking the time to explore my build … Good luck!
Explore More
Related articles you'll loveBest Van Conversion Equipment: Top Picks for Solar, Refrigeration, Kitchen, More…
Van Life Profiles: Stories of Living the Road
Build Chronicles: Step-By-Step Details of Van Conversions
Vanvaya’s Most Popular Articles Ever
