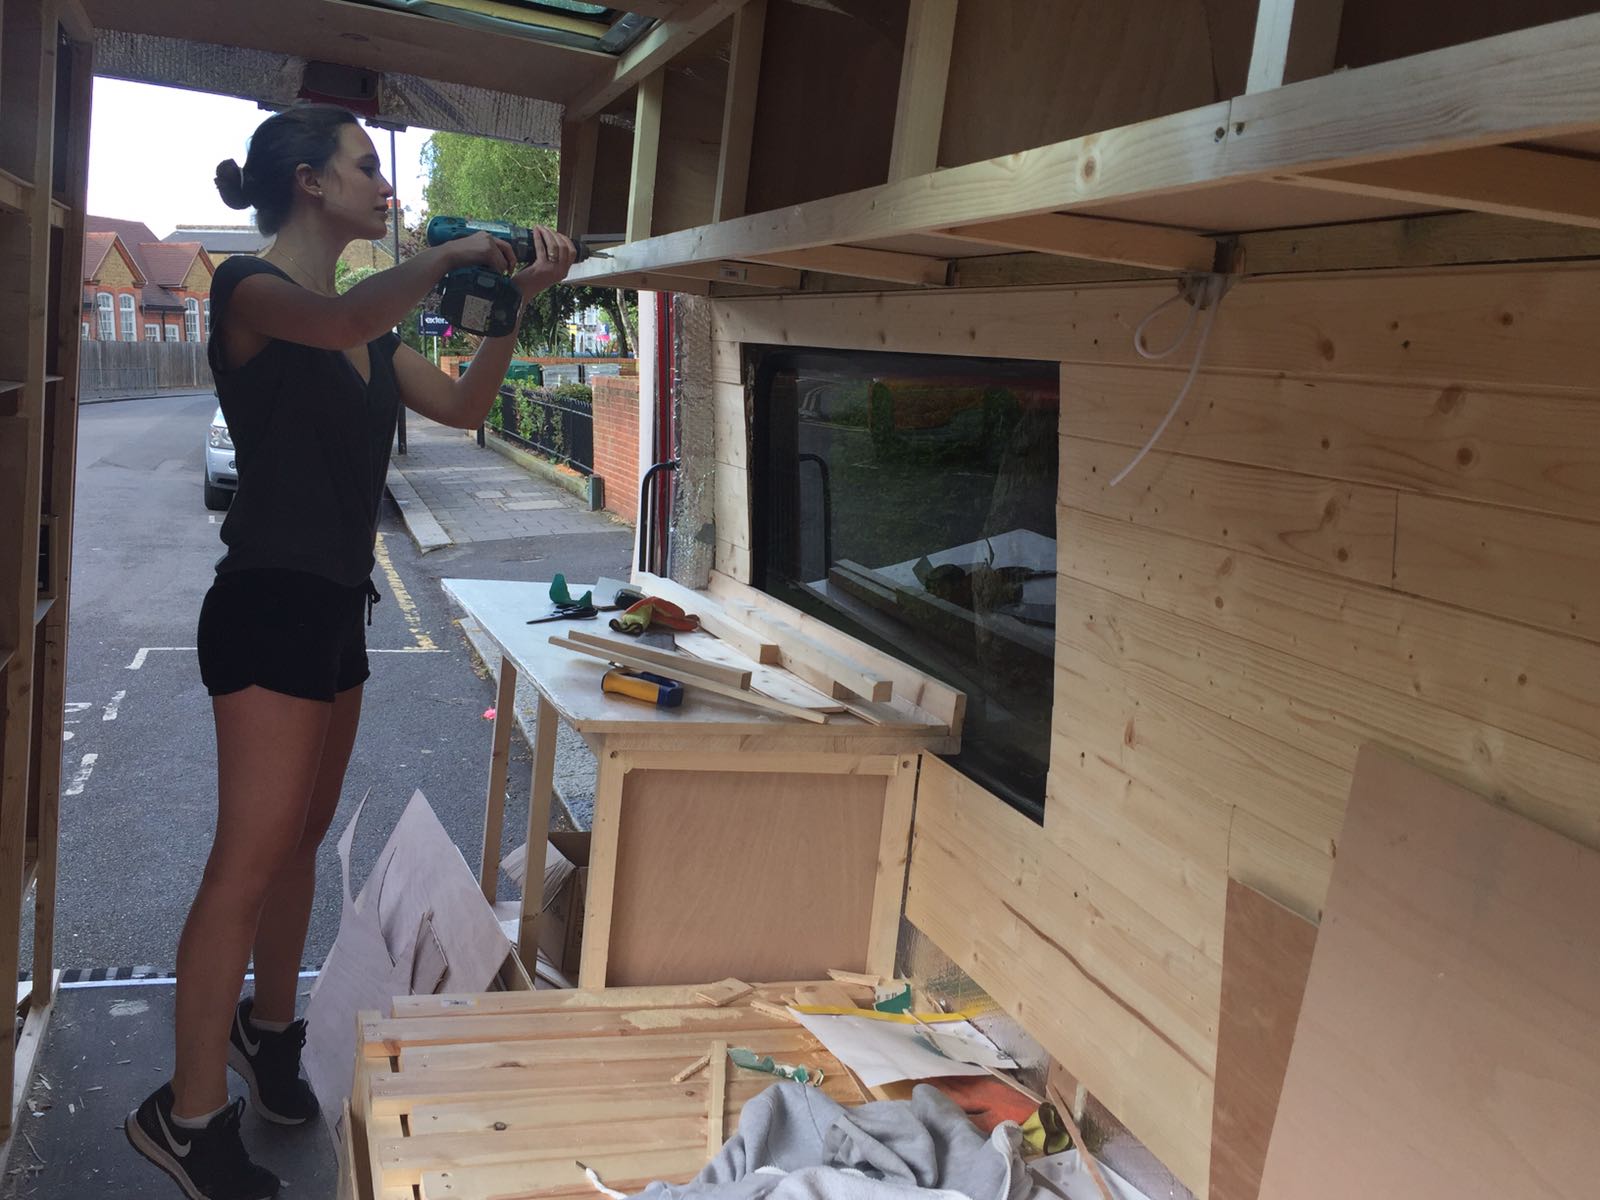
Build Chronicles are recurring features where we dig into the gritty details of our favorite van conversions. Here we chat with Lily and Thilo who are traveling across Europe in their 2012 Mercedes Sprinter Van.
Where did you find and purchase this van? What’s the backstory?
When we decided to convert a van into a camper van we were living in central London. However, we bought the van in Germany to have a left-side drive van, which is better for traveling on roads outside of the UK.
It was a bit of a mission but Thilo’s brother, who lives in Germany, helped us a lot when viewing and selecting the right van.
What were you aiming to do with this build?
When designing the van, we already had a few requirements in mind that we wanted to include in the van build.
Because Thilo is quite tall, we needed a bed that was a minimum of 6’6″ long, which made it impossible for us to install the bed at the back of the van and sleep across its width. So, we came up with an extending sofa in an “L” shape. This design also provides us with more open living space during the daytime when the bed is folded away.
We also wanted to have solar panels to be independent and as green as possible. Therefore, all of our electrical systems and appliances had to run on 12V. We also found it important to have a fridge, as we really enjoy cooking and the van was built to travel for a full year.
Finally, we decided to not have a shower as it would consume too much space and it’s just as easy to shower outside instead.
How did you insulate your van?
We used Celotex
Celotex comes in panels of 1200×1400 with different thicknesses available. We used 50mm for the walls and 25mm for the ceiling. In order to install the Celotex, we simply measured the area of the van we wanted to put Celotex on, cut the Celotex with a handsaw, and glued it directly to the van. Once done with the Celotex, we filled all the remaining gaps with expanding foam
Finally, we used double-sided aluminum foil as a vapor barrier to stop the humidity of the van from coming into the insulation. This helps to prevent mold. We laid the aluminum foil all around the van, making sure the layers were overlapping. At the junction, we used aluminum tape to seal the barrier off.
What did you do for wall paneling?
For the wall paneling, we installed 9mm pine cladding. To fix the cladding to the wall, we first screwed 9mm ply strips vertically to the metal with self-tapping screws.
We used Gripfill

Pine lattes are fragile, so we had to be careful when cutting or screwing as to not damage them. And because nothing is square in our van due to its structure, it wasn’t easy to do the corners. It took a lot of time to get the right cuts!
How about flooring?
The van we bought came with a black plastic floor in really good condition. We decided to keep this floor as our subfloor.
We then used vinyl floor as a finish floor. It is cheaper, easier to install, easier to maintain and thinner than a proper wood floor. We glued it directly to the subfloor.
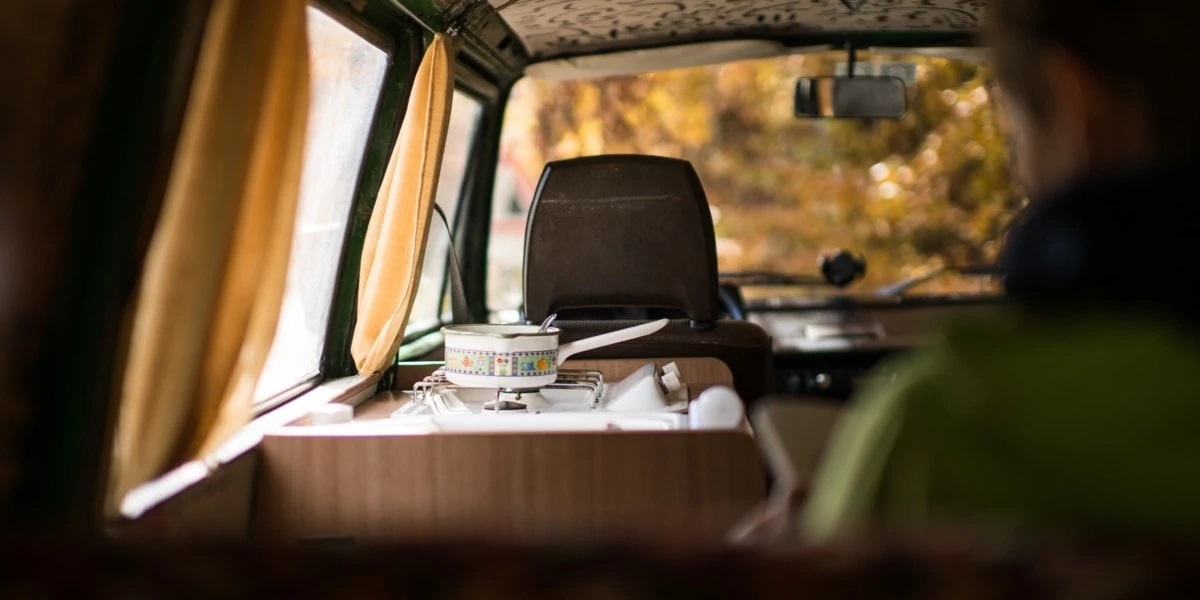
What’s in your kitchen?
In our kitchen we installed:
- 3-way Dometic fridge
- 3 burner Spinflo stove
- Sink and a pull-out tap
- 70L Fiamma water tank
- 11kg propane gas bottle

To run our tap, we installed a Whale submersible water pump
Our entire gas installation was done by a professional, as this is a requirement to receive a gas certificate in Germany.
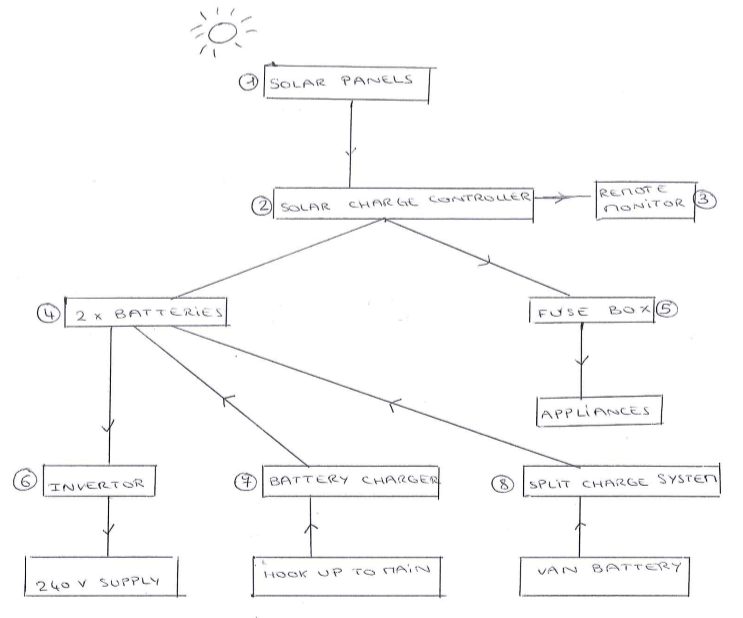
Let’s hear about your electrical setup.
We are running all of our appliances on solar power.
We went with two 120W Photonic Universe solar panels, monocrystalline, semi-flexible as they are lightweight and bend easily to adapt to the curve of the van. We are also using two 170Ah Xplorer leisure batteries and a 40A EPsolar charge controller
When choosing your solar panels and your batteries, make sure you make some calculations before to ensure you have the right power supply according to your needs. You can find of all these calculations on our blog.
What else do you have to share?
A small thing we love about our van is the unfolding table we built on the top of our small cabinet. At first view, you cannot see that it is a table. It takes only a two seconds to unfold and we can use it when we quickly need to work on our laptop or for extra space for cooking.
For eating or working, we also have a proper table installed, which can also be removed.
The final word
Converting a van into a camper van is an experience in itself. We built our van in central London with limited space, power, and tools. But overall, we worked through our constraints and it was all part of the challenge.
Sure, it was hard and sometimes we were frustrated or disappointed. It took all of our energy for three months, almost consumed our lives. But we wouldn’t trade the experience for anything—what an achievement!
If you want to do it, just go for it! You do not need to be a professional or have pre-existing knowledge. You just need a lot of commitment and motivation. Read information on the Internet as much as you can and do not be afraid to ask for advice. We would be happy to help if you have any questions.
For Your Build
Get top picks from Lily and Thilo's conversion
For Your Build
Get top picks from Lily and Thilo's conversionVent fan

Fan-Tastic 1250
![]()
Refrigerator
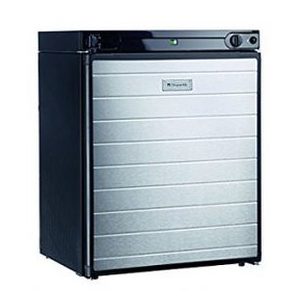
Dometic RF 60
![]()
Stove

Spinflo 3-Burner
![]()
Solar
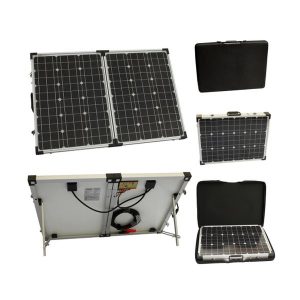
Photonic Universe
![]()
Explore More
Related articles you'll loveBest Van Conversion Equipment: Top Picks for Solar, Refrigeration, Kitchen, More…
Van Life Profile: Alexis Beaudet-Roy of Quebec
Van Life Profile: Gavin Elliot of Lakefield, Ontario
Build Chronicle: Converting a 2006 Mercedes Sprinter Van
Build Chronicle: Converting a 2012 Mercedes Sprinter Van
How to Convert a Van into the Ultimate Camper
