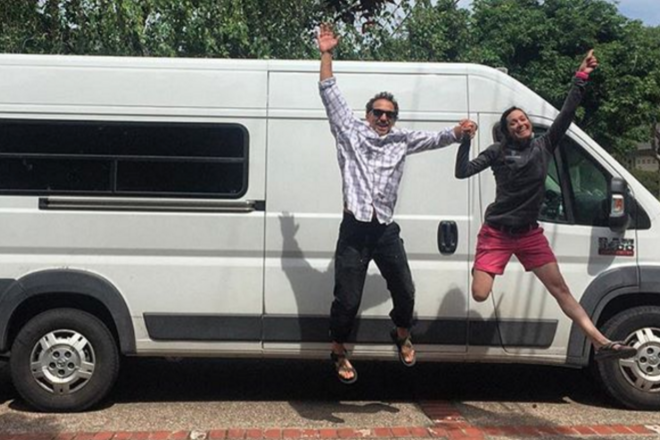
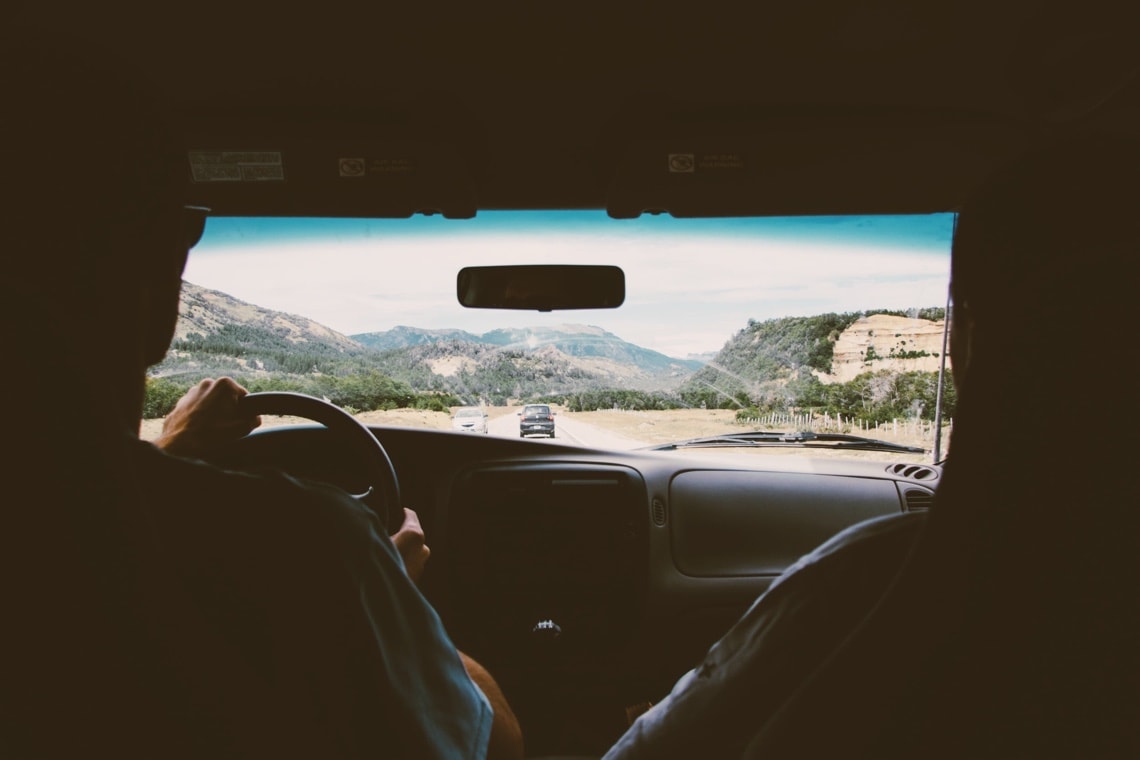
Build Chronicles are recurring features where we dig into the gritty details of our favorite van conversions. Here, Mobile Roamer, Laura Patton takes us through the build-out process of her 2014 Dodge Ram ProMaster 3500.
Where did you find and purchase this van? What’s the backstory?
We bought this van from the Dodge Dealership in Reno. It was being used as their parts vehicle, had 17,000 miles on it, and they gave us an incredible deal.
I had previously been driving a 2005 Sprinter with 275,000 miles and was looking to get a newer vehicle with a high roof. I loved my Sprinter but it was time for a new set of wheels.
What were you aiming to do with this build?
I was aiming to build a home on wheels that could not only store all my gear, but provide a comfortable living space for my dogs, my fiance, and myself in all seasons of the year.
Get an in-depth tour of Laura’s ProMaster conversion:
How did you insulate your van?
We insulated the whole van with a layer of Reflectix
On the walls and in the nooks and crannies, we used UltraTouch denim insulation
The process was pretty straight forward:
- We cut the Reflectix to fit, coated the surface with spray adhesive, and stuck it down.
- For the walls, we tore the denim insulation into the appropriate size and used strips of masking tape to hold it in place until we put up a vapor barrier layer.
- For the ceiling and floor, we used spray adhesive to attach the foam board.
How about flooring?
We used beetle kill pine tongue and groove paneling for our wall and ceiling panels. The ceiling was simple as there are metal ribs running crossways on the van, so we just drilled directly into those. For the walls and doors, we had to add furring strips to attach the wood.
It was nice using the tongue and groove paneling because it slides together to create a solid wall. If I were to do this differently in the future, I would search harder for thinner tongue and groove strips; ours were 3/4″, which added a lot of thickness to the walls.
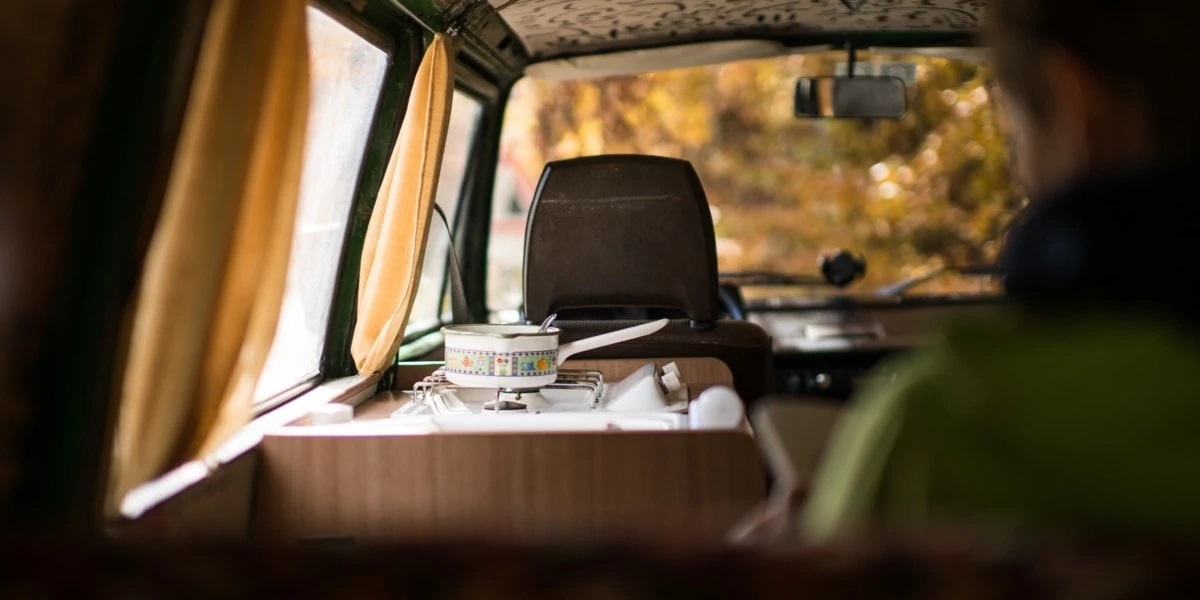
What’s in your kitchen?
Our kitchen is the heart and soul of our van as we cook at least two meals a day in there.
We have a Suburban 3-Burner Cooktop


We don’t have a fridge but use a Yeti Cooler
Let’s hear about your electrical setup.
We have a Goal Zero solar setup. We use the Yeti 400 generator

This is a very simple system and works wonderfully for us! Our lights and fan are wired into the Yeti and it has other available ports for charging phones, computers, and cameras.
Any particular features you especially appreciate or that are unique to your build?
We love our swivel seats from Eurocampers.com; they make the front van space so much more usable!
A unique feature to our build is our wood stove. It’s important to us because we live in wet climates and often have wet gear in the van that we need to dry.
The most important thing to think about during your build is how you will be using your van and how the design will suit you best. Remember that you won’t need things that other people find essential and you’ll want to add things that some people won’t see as important.
What mistakes did you make?
Being the second van that I’ve built out, I think I had the design I wanted pretty dialed in. I don’t think there is anything major that I would have done differently. I figured out all the kinks after living in my first van for a while and that led to the polished design for the second van.
The final word
Don’t get too caught up in what other people are doing, what their budgets are, or their time frames. And don’t let the idea of perfection hold you up!
Your van is unique to you and will feel like home because of the personal elements you add to it. It is great to draw inspiration from others but ultimately your van will become whatever you choose to make it, which should be a vehicle that helps you accomplish your goals.
Whether your build budget is $500 or $5,000, you can make a wonderful home on wheels that will be your ideal mobile basecamp.
For Your Build
Get top picks from Laura's conversion
For Your Build
Get top picks from Laura's conversionVent fan
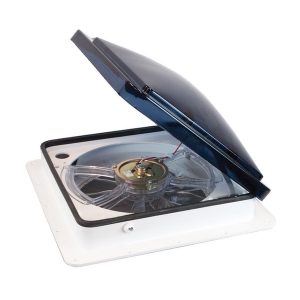
Fan-Tastic Vent 801200
![]()

Refrigerator
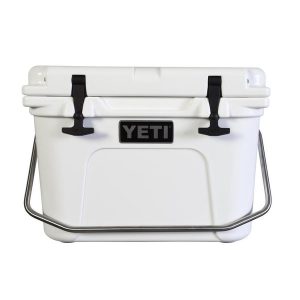
Yeti Roadie 20L Cooler/Ice Chest
![]()

Lights
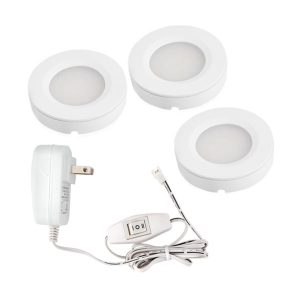
Torchstar LED Under Cabinet Lights
![]()

Wood Stove
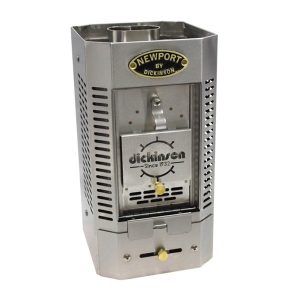
Dickinson Newport Wood Burning Stove
![]()

Now to you
Do you have questions about this build? Experience or thoughts about anything mentioned? Add your feedback in the comments below.
Explore More
Related articles you'll loveBest Van Conversion Equipment: Top Picks for Solar, Refrigeration, Kitchen, More…
Van Life Profile: Gavin Elliot of Lakefield, Ontario
Van Life Profile: Alexis Beaudet-Roy of Quebec
Build Chronicle: Converting a 2012 Mercedes Sprinter Van
How to Convert a Van into the Ultimate Camper
