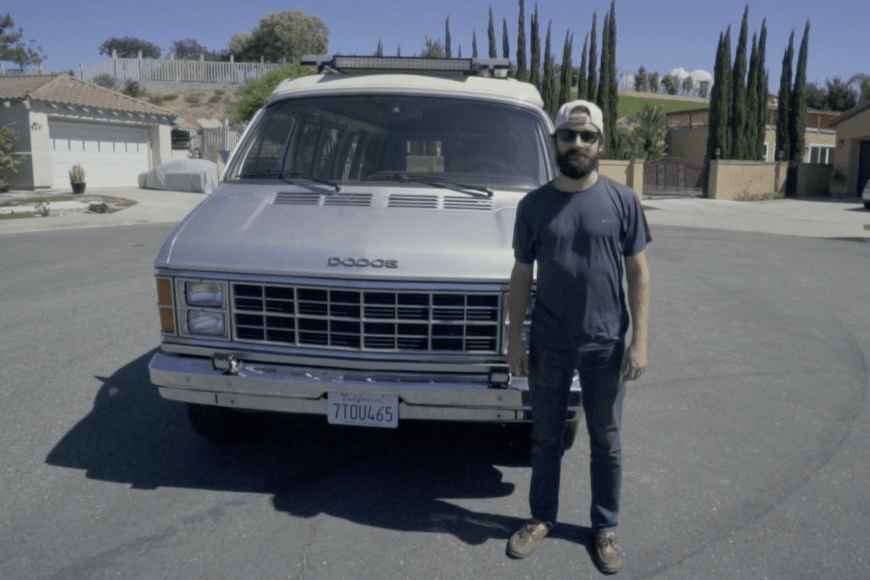
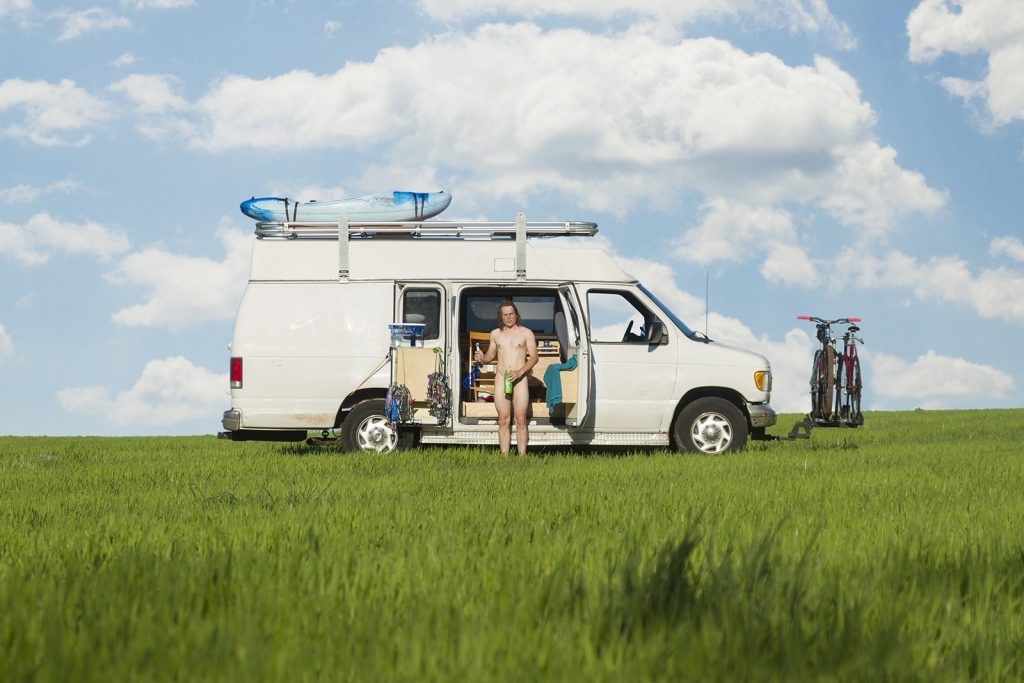
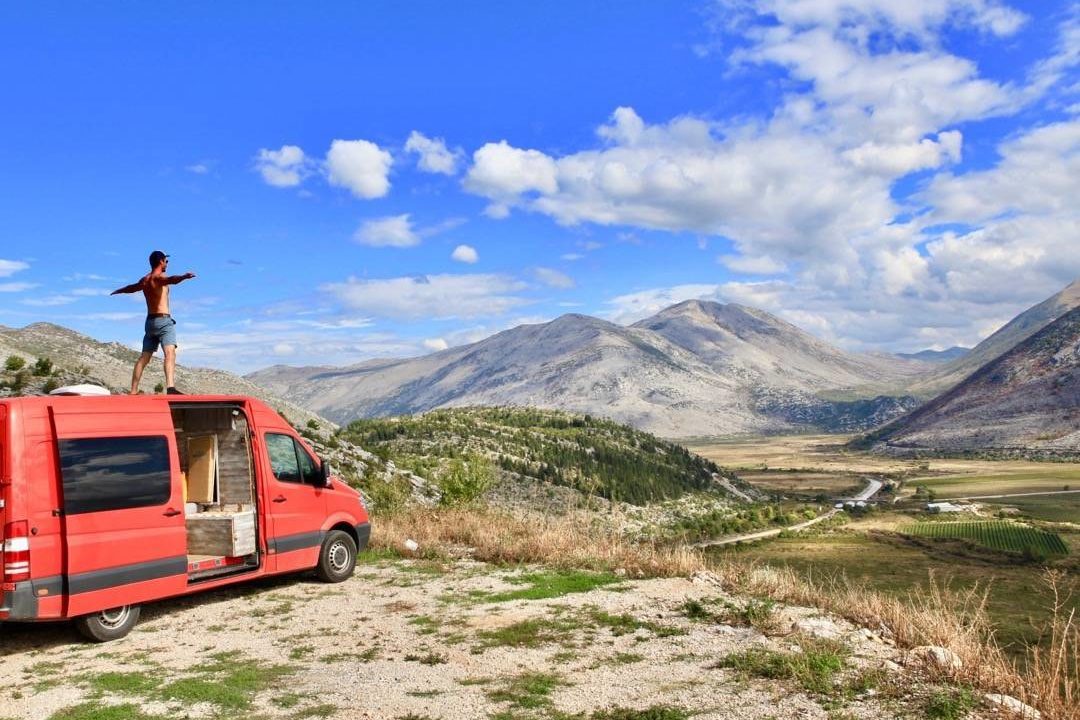
Build Chronicles are recurring features where we dig into the gritty details of our favorite van conversions. Here, Julian Mariano walks us through the build-out process of his 1984 Dodge B250, also known as Large Farva.
Where did you find and purchase this van? What’s the backstory?
I had been planning an epic van-living experience with my good friend and adventure bro for several years before I actually pulled the trigger on a van.
I had a small budget (no Sprinters for me) and wasn’t going to shell out the cash until I knew I found the right one. Looking for vans was on my whole family’s radar, and eventually, my mom found one on Craigslist that matched all of my requirements (high roof, big, old, good engine).
They picked it up 15 minutes away from their house and brought it home! She was promptly named Large Farva.
Take a tour through Julian’s van, Large Farva:
What were you aiming to do with this build?
I had a few requirements—running water, heated water, a refrigerator, two beds, and a lounging space.
I was able to integrate all of this into my build with lots of measuring, research, and designing. I also wanted everything to look elegant. I grew up woodworking with my dad, and making the van look aesthetically pleasing was well within my wheelhouse.
How did you insulate your van?
I insulated the floor and ceiling with half-inch RMax foam board. The sides were done first with Reflectix adhered with 3M Super 90 spray glue followed by generic R-13 fiberglass insulation
.
I used a staple gun to fix the insulation paper onto the wooden joists I fixed into the van’s walls. We had some pretty cold mornings (teens outside) and the van generally stayed 20+ degrees warmer inside just from body heat.
What did you do for wall paneling?
I wanted to go with the log cabin look, so tongue-and-groove boards were the obvious choice, but the cedar planks that are typically available were a little too light and brittle for me to want to use.
I opted for pine instead. Much stronger and a little more forgiving to work with.
What about flooring?
The floor of the van itself was corrugated, so I filled in all of the spaces with strips of planed down plywood so I’d have an even surface to work with.
Then I used construction adhesive to glue down half-inch RMax foam board insulation. Next, I through-bolted half-inch plywood with flat-head bolts down through the entire floor of the van.
Lastly, I laid down some hardwood floor look-alike vinyl to seal the deal. People were mere feet away and actually thought it has hardwood. I saved weight, and spill cleanup was really easy with the vinyl flooring.
What’s in your kitchen?
It all starts with a 15-gallon water tank that is filled up from an exterior inlet on the outside of the van.
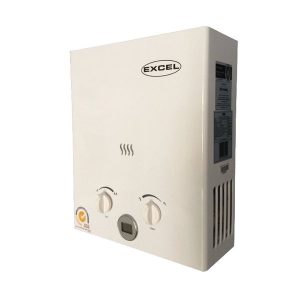
I used a 3 GPM Shurflo water pump with pre-filter and accumulator tank that pumps water to the sink for cold water, or to the Excel tankless indoor-safe water heater
for hot water. The sink drains into a 9-gallon gray water tank
that was fashioned from an old water softener tank.
The water heater is by far my favorite thing ever. I got a great price on Amazon and makes dishes and hand-washing amazingly convenient, given the fact that you’re living in a motor vehicle.
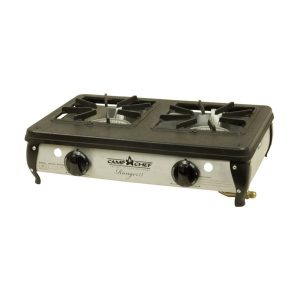
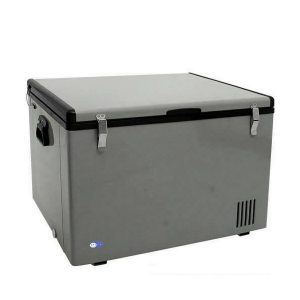
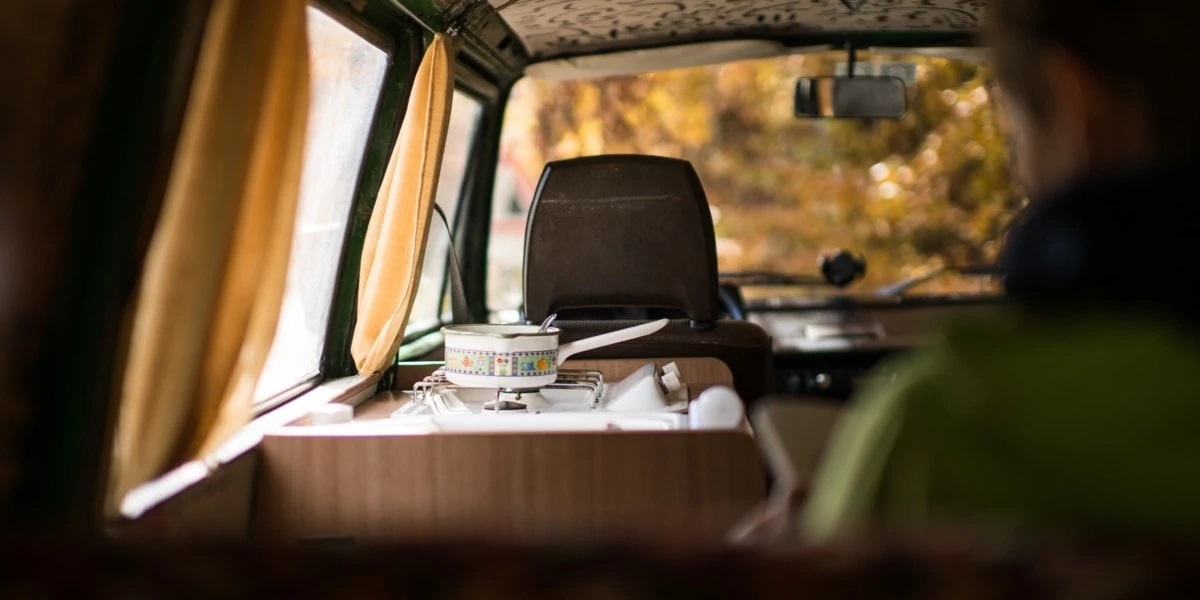
I also have a Camp Chef Ranger II stove with 34k BTU total output, which is great for cranking out cups of pour-over coffee in rapid succession. The Edgestar DC refrigerator
was also an indispensable addition to the van. It keeps perishables cold, beer colder, and is amazingly efficient.
Let’s hear about your electrical setup.
The house batteries are two 6-volt golf cart batteries (wired in series to make 12 volts) and they hold a total of 210 amp-hours ($80 each at Costco).
I have two sources of charging. One is a 100-watt solar panel on the roof of the van, and the other is actually via the alternator of the van.
I used a solenoid switch between the alternator and the house batteries so that the flow of current is only allowed when the vehicle is running. This means the whole bank is essentially recharged every time I drive, but that when parked I can’t suck up any of the power from the car battery. This system is great if you don’t have room on your roof for lots of solar panels!
If I had to give one word of advice to someone doing electrical, it would be to not be afraid! DC systems are super safe, and you should definitely use the plethora of online resources to figure out how they work.
What extra insights/features do you have to share?
Secret storage compartments! Also, since I was traveling with my buddy, we wanted separate sleeping arrangements, so I designed to make pseudo bunk beds, with the lower bed’s foot area built underneath the upper bed. This allowed me to maximize space while not having to sacrifice too much room for sleeping.
One of my favorite features is the captain’s chairs. Being able to rotate the seats allows the cab of the van to become your living room, which is great for space management and utilization.
I’m also fond of the outdoor shower that can be easily connected to the sink for a quick rinse-off.
What mistakes did you make?
If I had to do it all again I’d opt for a newer van. Mine has 200k+ miles on it. I’ve had a lot of engine troubles and if you add up everything I’ve spent on them I could have just bought something more reliable. Don’t fall for the allure of a $2000 van!
The final word
Make a budget of time and money for a build. Then double it. It will be a more realistic representation of what you’ll spend working on it!
For Your Build
Get top picks from Julian's conversion
For Your Build
Get top picks from Julian's conversionNow to you
Do you have questions about this build? Experience or thoughts about anything mentioned? Add your feedback in the comments below.
Explore More
Related articles you'll loveBest Van Conversion Equipment: Top Picks for Solar, Refrigeration, Kitchen, More…
Van Life Profile: Gavin Elliot of Lakefield, Ontario
Van Life Profile: Alexis Beaudet-Roy of Quebec
Build Chronicle: Converting a 2012 Mercedes Sprinter Van
How to Convert a Van into the Ultimate Camper

